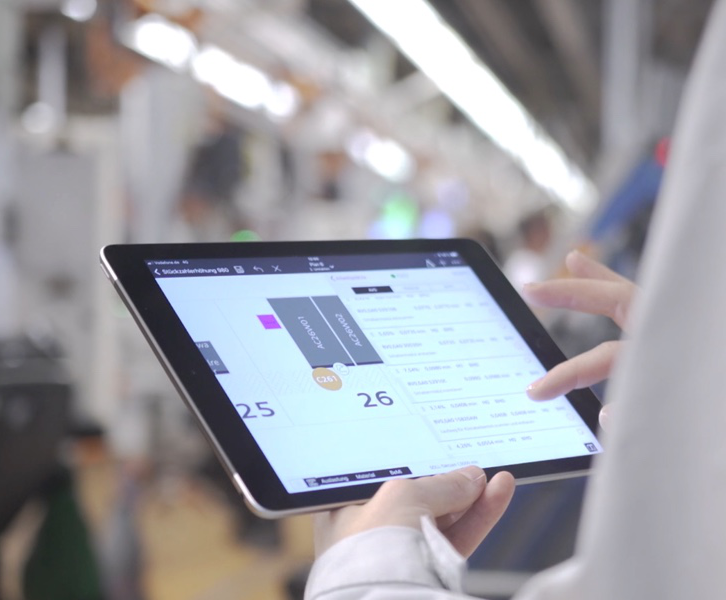
There are plenty of documentation and discussions across the internet about writing applications for Wear OS in general. So, I would leave general information about it to official Google and Microsoft sites and focus instead only on our experience in this article – how to extend .NET MAUI mobile application for Wear OS.
Even though we are going to write a WearOS supplement for a .NET MAUI application, we will use the same approach, which Microsoft developed for Xamarin. Follow this excellent documentation for more: https://learn.microsoft.com/en-us/xamarin/android/wear/get-started/intro-to-wear.
Since Android Wear 2.0, developers prepare the Wear OS application always as a standalone .APK package with defined hardware in its AndroidManifest.xml file:
<manifest xmlns:android="http://schemas.android.com/apk/res/android" ...>
<uses-feature android:name="android.hardware.type.watch" />
<application android:allowBackup="true" android:icon="@mipmap/appicon" ... >
...
</application>
</manifest>
There are no requirements for AndroidManifest.xml file for our .NET MAUI mobile application. So, we can directly move to the next step – add Wear OS app to our solution.
Open your .NET MAUI solution in Visual Studio, right-click on solution and add the new Android Wear Application. See picture 1.
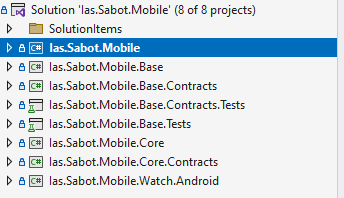
When you are done, the project structure should look like ours in picture 2. In our example, Ias.Sabot.Mobile project is the main MAUI application, Base projects are pure .NET project without dependency on underlaying platform, Core project is .NET MAUI library with platform or MAUI dependent code and finally, Ias.Sabot.Mobile.Watch.Android project is the .NET Android app for watches.
Like in Xamarin.Android, there is one MainActivity.cs in it, Resources with layers, drawables and values folder.

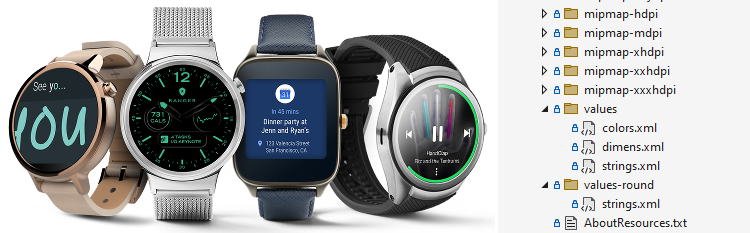
There is one Wear OS specific in resources. There are folders “values” and “values-round”. In the first one, you can have default strings, colors, dimensions for UI defined and in the second folder, you can override some of them for rounded – circle-like UIs. Android Wear OS will take care of the decision, which values should be used based on what format has the watches – whether square or round (see Picture 3).
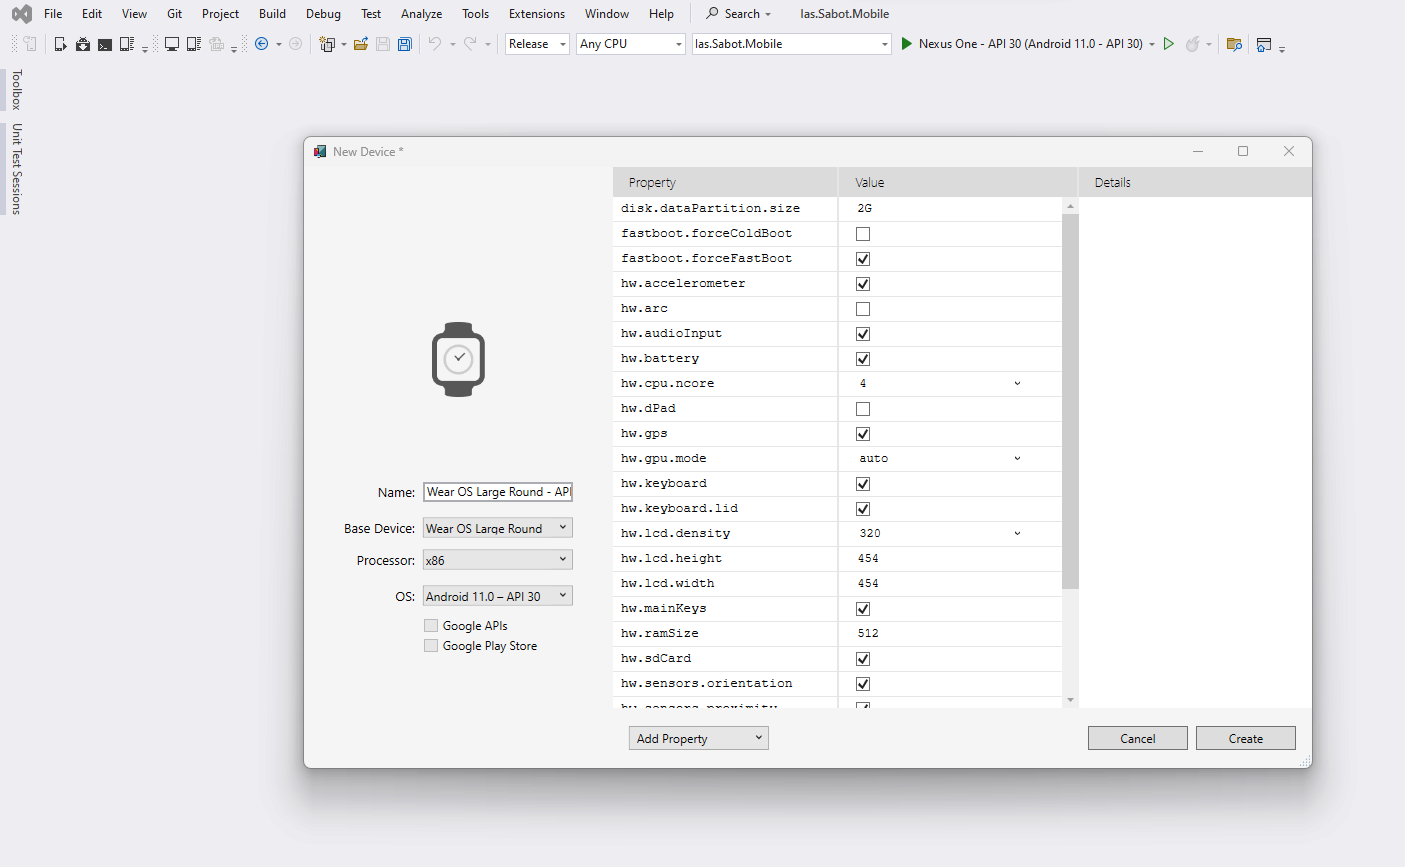
Once we have an Android Wear application in the solution, we usually want to run it on a real device or emulator. Luckily, Android Device Manager offers us a template for emulator for watches. Let’s create an emulator and run the application for the first time.
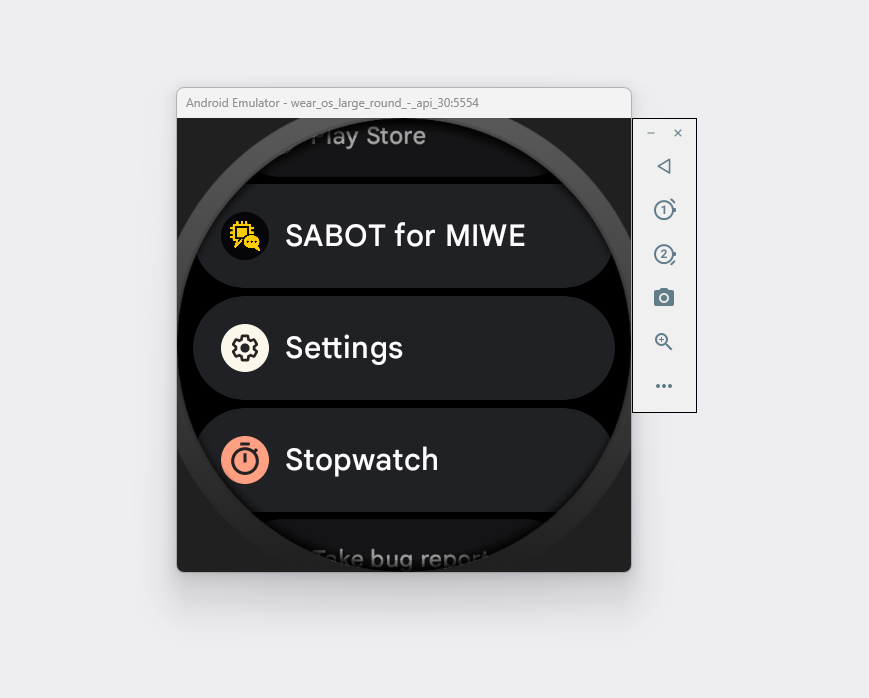
Running the Wear OS application on emulator is the easy part of setup development environment. But in real scenarios, you will need the app on emulator to communicate with mobile application running on your Android device.
It is also possible under two conditions.
Follow the pairing process described here:
https://developer.android.com/training/wearables/get-started/connect-phone#pair-phone-with-avd
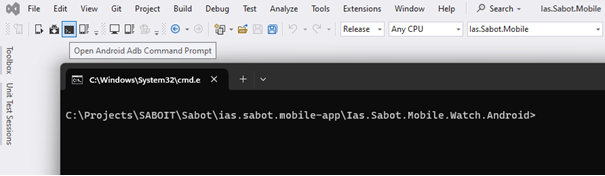
There is a tool inside the Visual Studio, which you’ll need for that – ADB (Android Debug Bridge). The forwarding command (adb -d forward tcp:5601 tcp:5601) must be run within it – not in system console (see Picture 6).
Not everything can be tested / simulated on a WearOS emulator and if you’re serious with Android Wear development, you must have real Android Watches. You can use the Android Debug Bridge for deployment to real watch devices as well.
The process of connecting Visual Studio to a real watch may slightly vary depending on the watch vendor or type. But there are a few conditions, which must be setup on any watches:
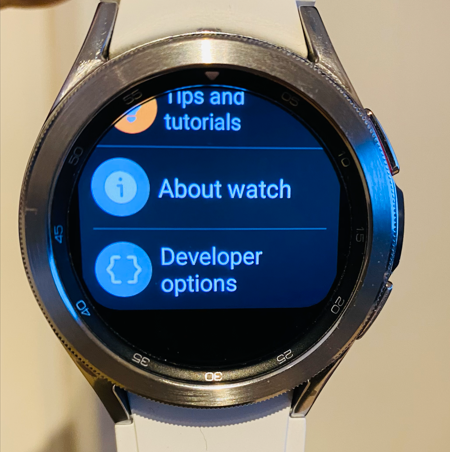
Go to System -> About watch -> Software information and tap the “Software version” section 7 times.
The exact process may vary depending on the Android version and your language setup. But when finished, you should see it in menu under Settings:
Once Developer options are enabled on watches, and ADB debugging and Wireless debugging is enabled as well, you can add the watches among target devices in Visual Studio using ADB tool.
There are two possible ways to do it. On Android 11 running on Samsung Watch 4, it was
On Samsung Watch 4 with Android 13, the manual requires pairing the device with developer PC / Mac:
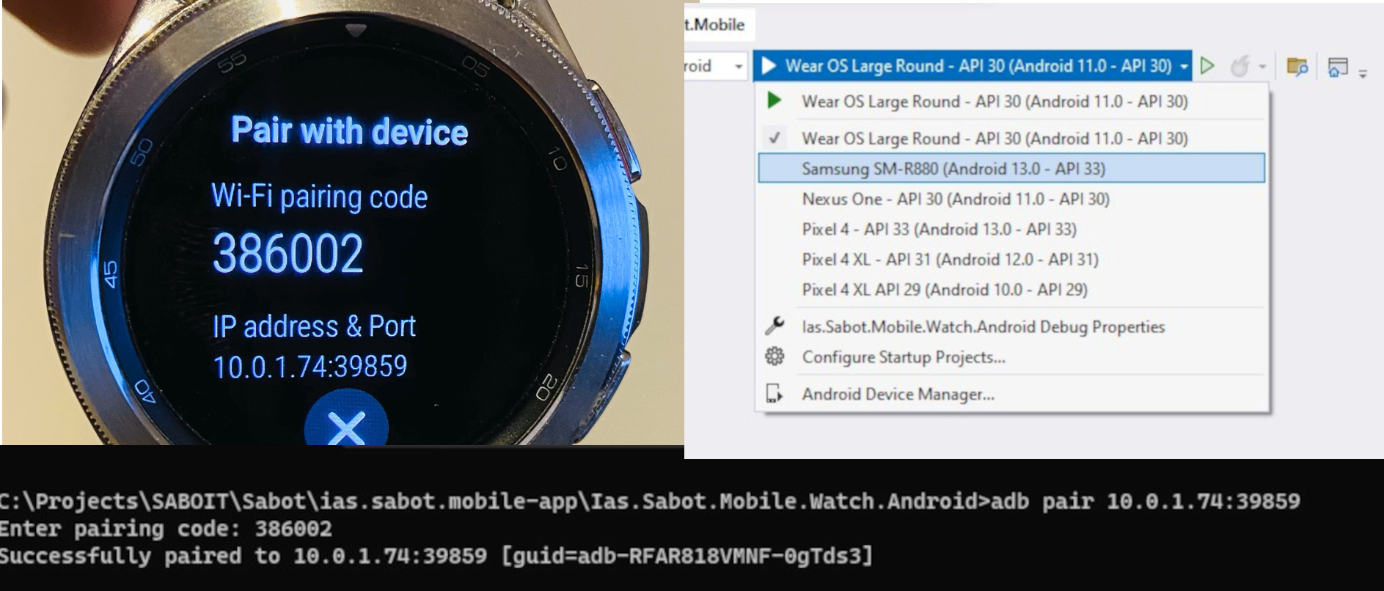
Once your watches are visible as local Android device, select Watches app project in Visual Studio as Startup project and run Debug. Your app will be installed on the watches.
If you try to enable Wireless debugging on watches and they keep disconnecting, go to Settings – Connection and disable Bluetooth. Then Android Wear will keep connected to WiFi to keeps connection with paired mobile phone over WiFi.
Hopefully, this intro was easy to follow! In Part 2, we will take a look at specific tips regarding the codebase, so stay tuned!